Free Appointment Scheduling Software Booking System
Powerful, Easy & Free Online scheduling Software to organize and automate your business.
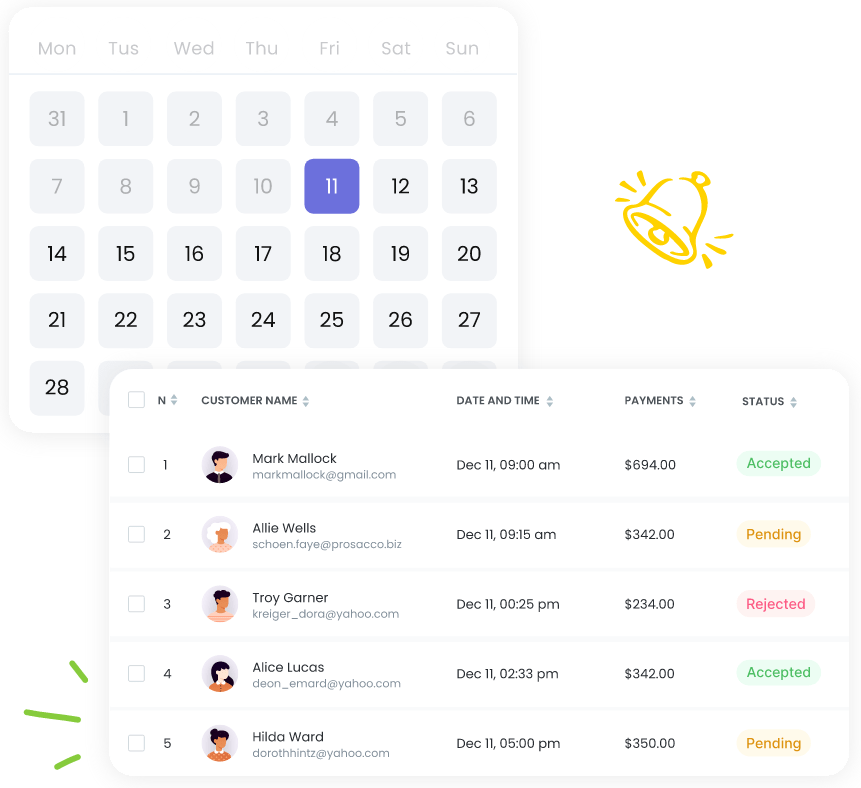
– Schedule Meetings, Interview & Classes, Manage Rooms & Equipment –
Easy to setup
Optimize your scheduling and streamline your event or services with BookOn in just a few clicks.
Easy to share
Utilize your unique link or embed the brandable booking widget on your website using a simple line of code.
Easy to book
Your customers will love the simplicity of booking with you in just a few easy steps.
Schedule Like A Pro
⭐⭐⭐⭐⭐
BookOn is a free appointment scheduling software system designed to suit businesses who want to enable full automation and simplify the booking process making it easy for customers to book your services online 24/7.
With all the amazing booking system features, you can fully automate the interaction with customers giving instant notifications updates to customers and employees. This is the perfect online free scheduling app to manage your bookings with ease and is suitable for any business.

Simplified Appointment Scheduling Software To Automate Your Business
Experience the convenience of streamlined scheduling with our innovative appointment scheduling software today.
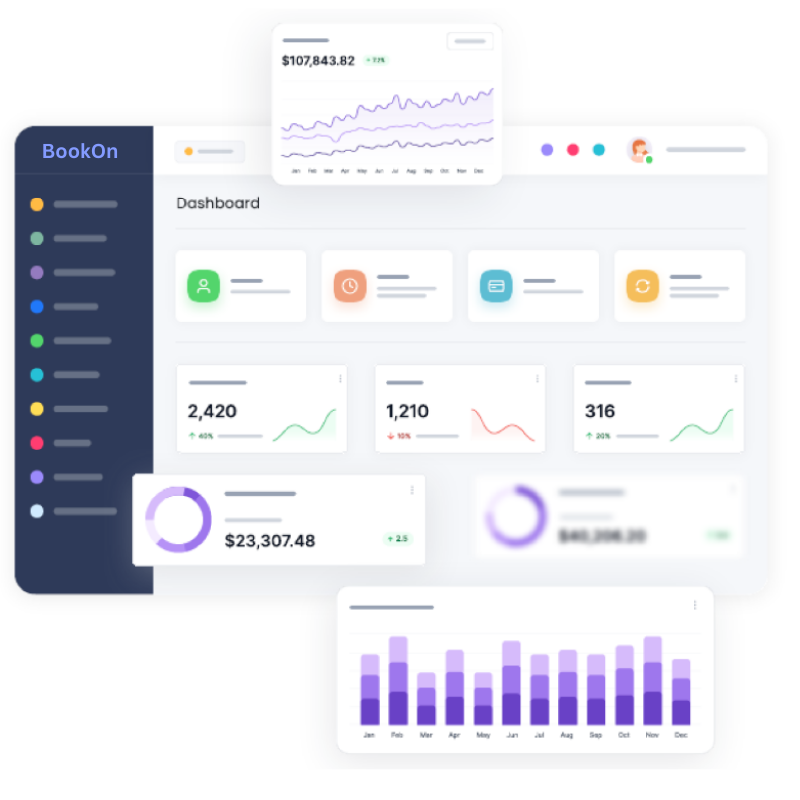
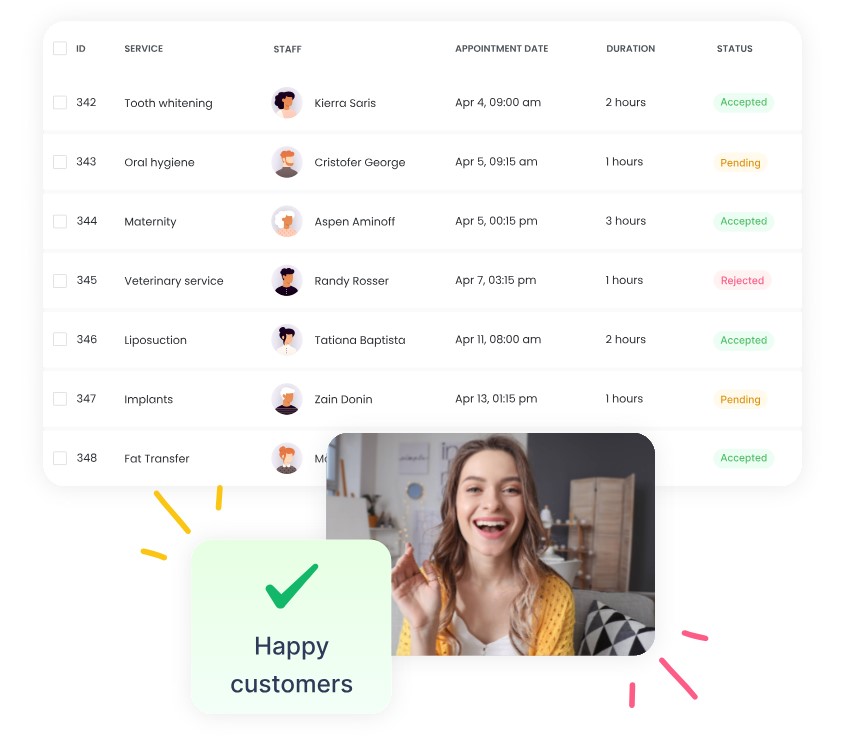
The administrative panel offers user-friendly functionality, granting complete control over upcoming appointments and access to complimentary premium features.
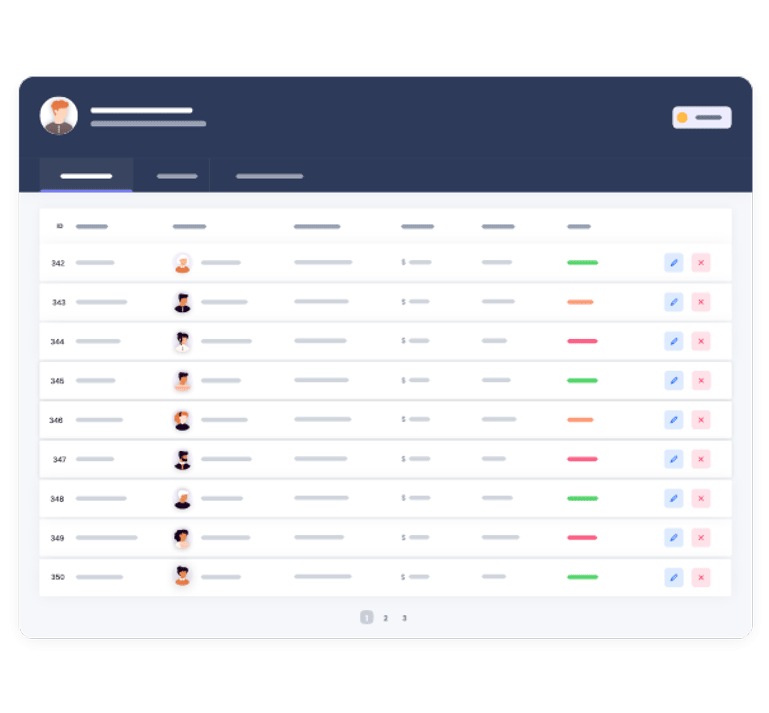
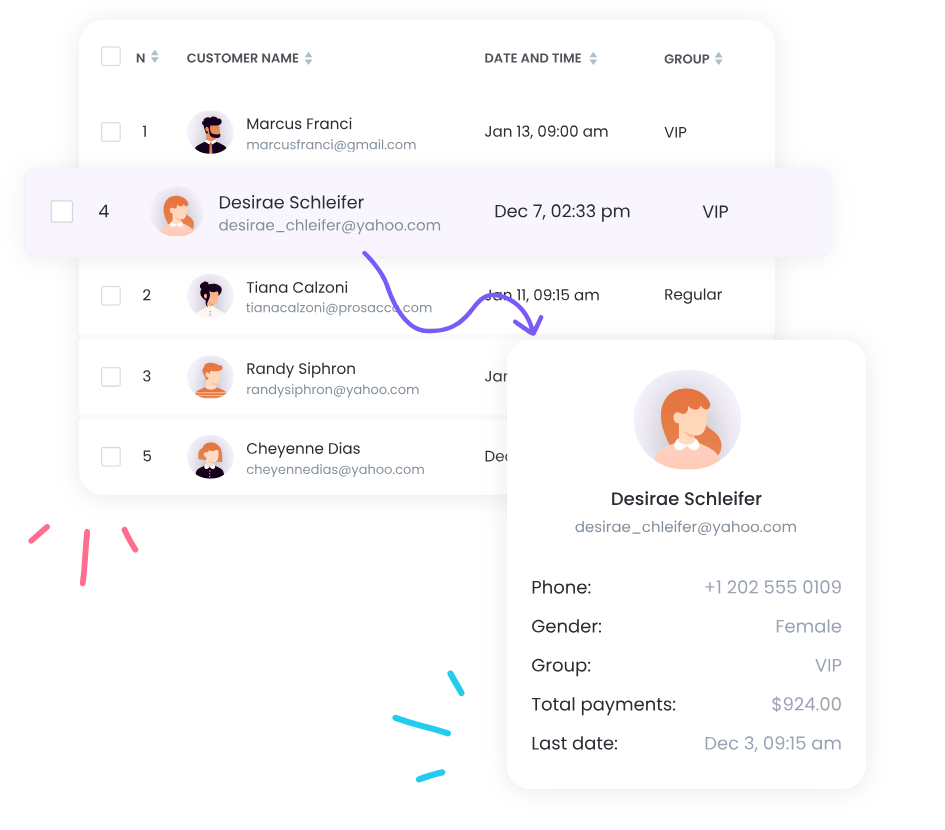
The Customer Panel feature serves as a vital tool, empowering your customers to effortlessly manage their appointments. Through the front-end customer panel, they can reschedule, cancel, pay and delete appointments with utmost ease and convenience.
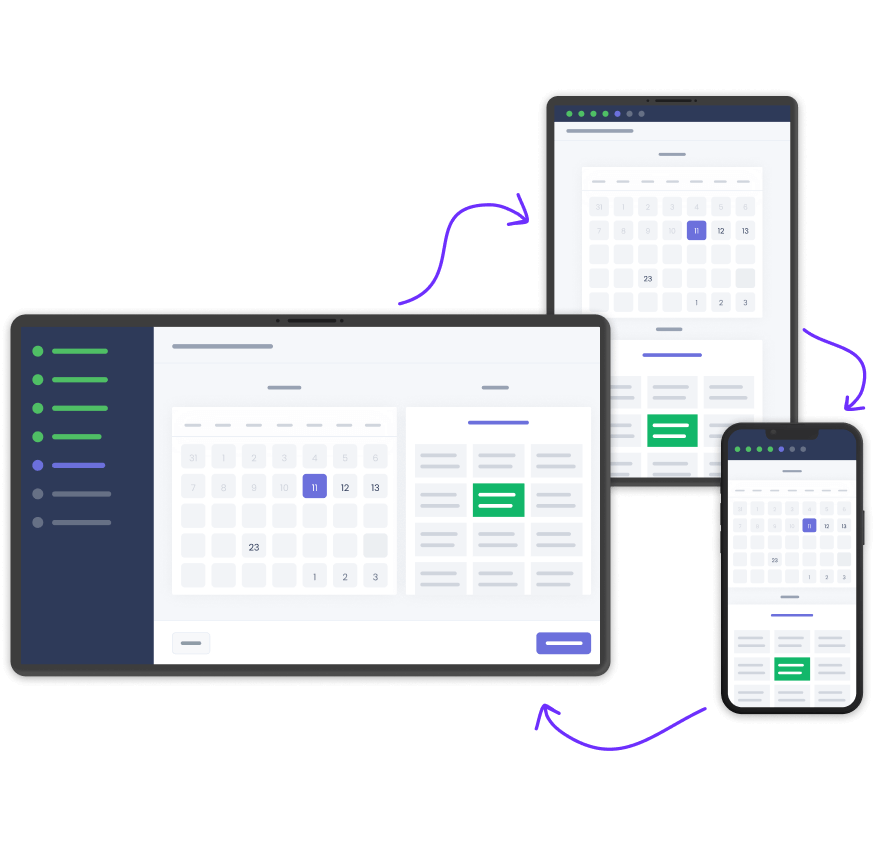
Enhance the booking process by providing your customers with a smooth and seamless experience. Add or remove steps, customize name field labels, tailor booking widget backgrounds, fonts, and other elements to align with your preferences and brand specifications.
A Powerful, All-In-One Booking Software To Make You Schedule With Ease & Grow Like A Pro
Simplify & secure your customer’s appointments by managing your online scheduling availability effectively while you focus on your business with our free online booking platform.
Effortless appointment scheduling software
Enhance overall efficiency.
✔️ Take unlimited bookings 24/7
✔️ Save time & money
✔️ Easy reservation & schedule management
✔️ Increase sales
✔️ Import/Export data
Simplify everything for you and your customers
Achieve 10X increase in customer satisfaction and productivity.
✔️ Take local & online payments
✔️ Eliminate back-and-forth emails
✔️ Use Zoom for video conferences
✔️ Reach global customers
✔️ Customize your booking widget to match your brand
Features
REMINDERS
Send automated emails & SMS reminders to your customers and staff at a time you choose.
ACCEPT PAYMENT
Other than local, accept online payments with PayPal, Stripe, Mollie & Square.
CUSTOM DURATIONS
Customize and add multiple durations for each service and set specific prices.
Some more Features
Custom Forms
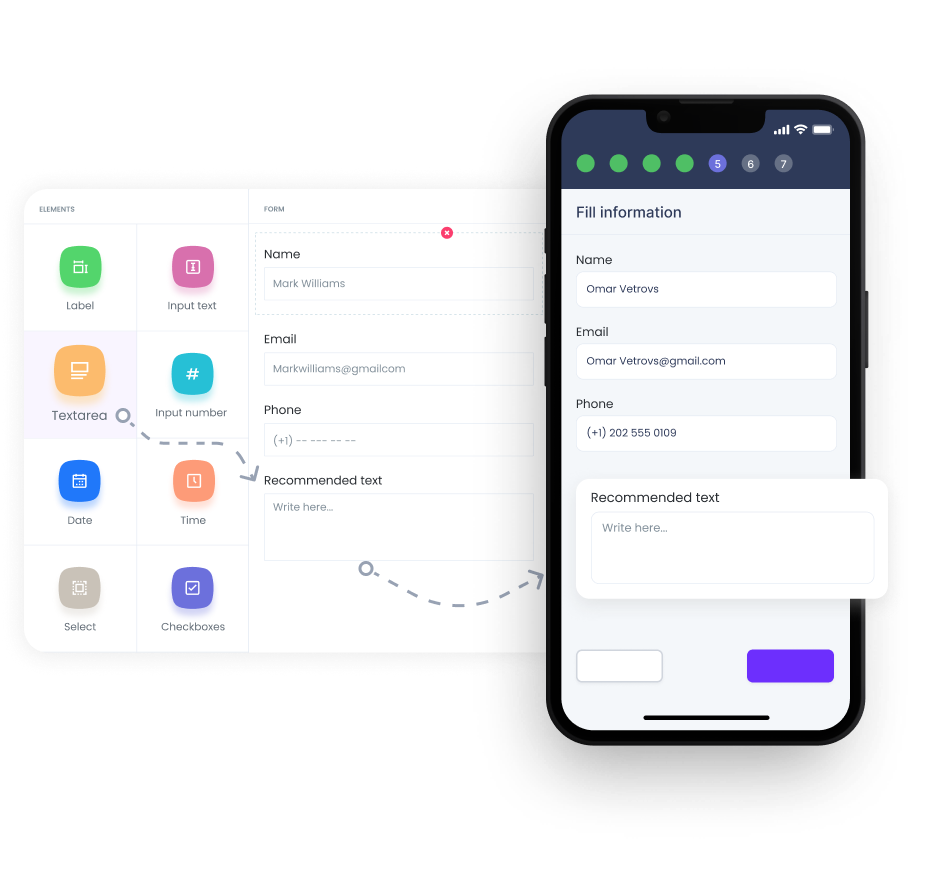
Enhance your booking panel’s front-end by customizing it with a range of features: enable file uploads, collect customer addresses, add checkboxes, time fields, social media account details, and numerous other customizable fields to cater to your specific needs.
Responsive design
BookOn appointment free scheduling software is optimized for all screen sizes and browsers, ensuring seamless browsing and navigation for your customers across various devices. This design enables effortless exploration of the services you offer, enhancing user experience and accessibility.


Terms Customization
Leverage the “Visual Module” feature to personalize various aspects: modify name field labels, tailor booking widget backgrounds, fonts, steps, and more to suit your preferences and brand requirements. This inclusive feature grants you extensive customization options for a tailored booking experience.
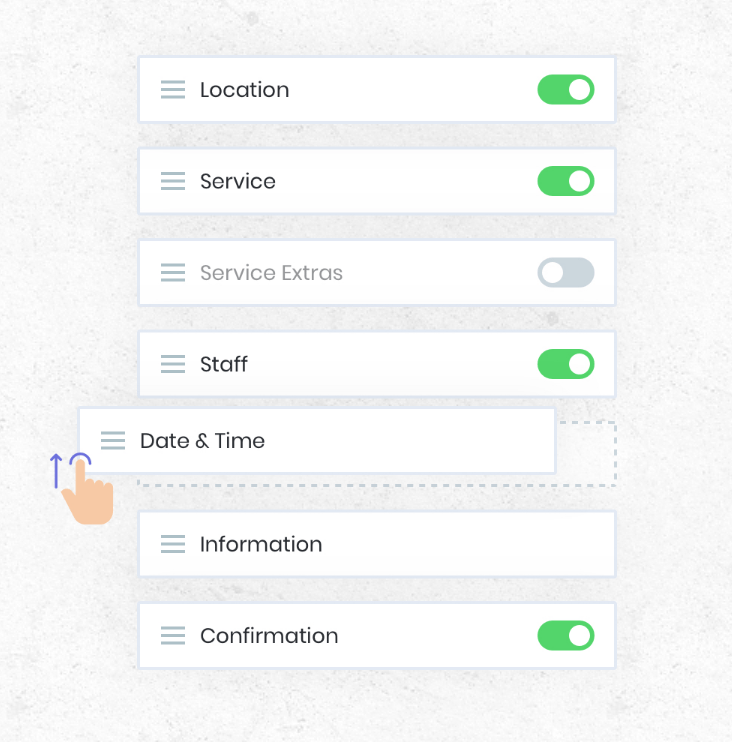
Reorder Booking Steps
Tailor your booking process effortlessly by rearranging fields as desired — simply move them up or down. Additionally, activate or deactivate fields according to your specific requirements, ensuring a customized booking experience that perfectly aligns with your needs.
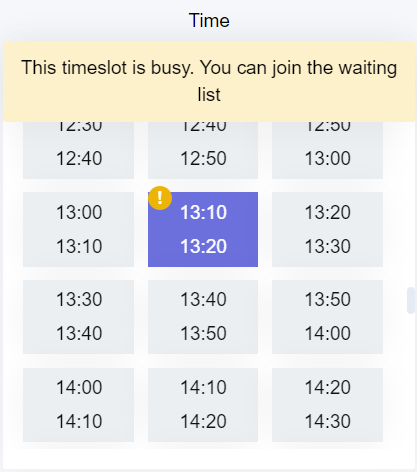
Waiting list
Activate the waiting list option via your admin dashboard, allowing customers to book already reserved timeslots. Should the requested slot open up, the reservation becomes available for the customer, ensuring a flexible and efficient booking process.
Allow Customers to Manage Bookings
Enable customers to take charge of their appointments, viewing booking history, payment records, and pending appointments through a personalized customer account. Maintain complete control over customer profile options, ensuring a tailored and efficient experience.
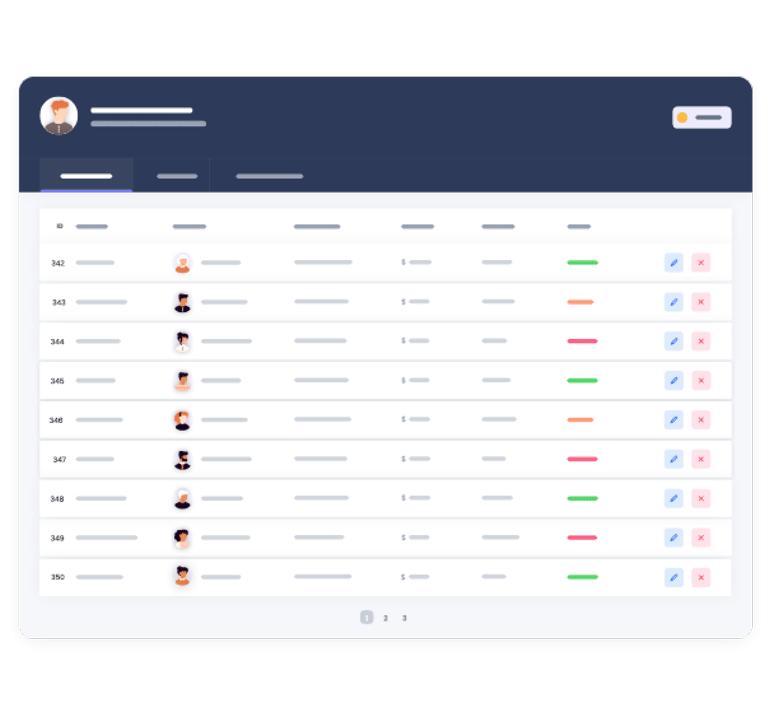
BookOn Online Scheduling will help you with
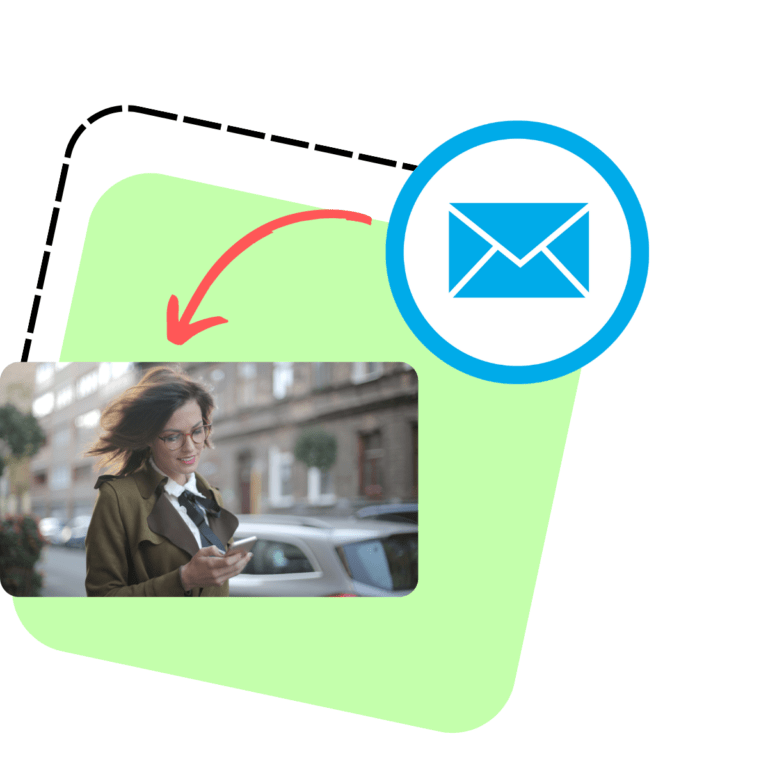
Appointments reminders
Appointment reminders improve customer engagement by sending timely notifications via email or SMS. They reduce no-shows by prompting clients about upcoming appointments, allowing rescheduling if needed. These reminders enhance customer satisfaction, increase attendance rates, and streamline operational efficiency for service-based businesses.
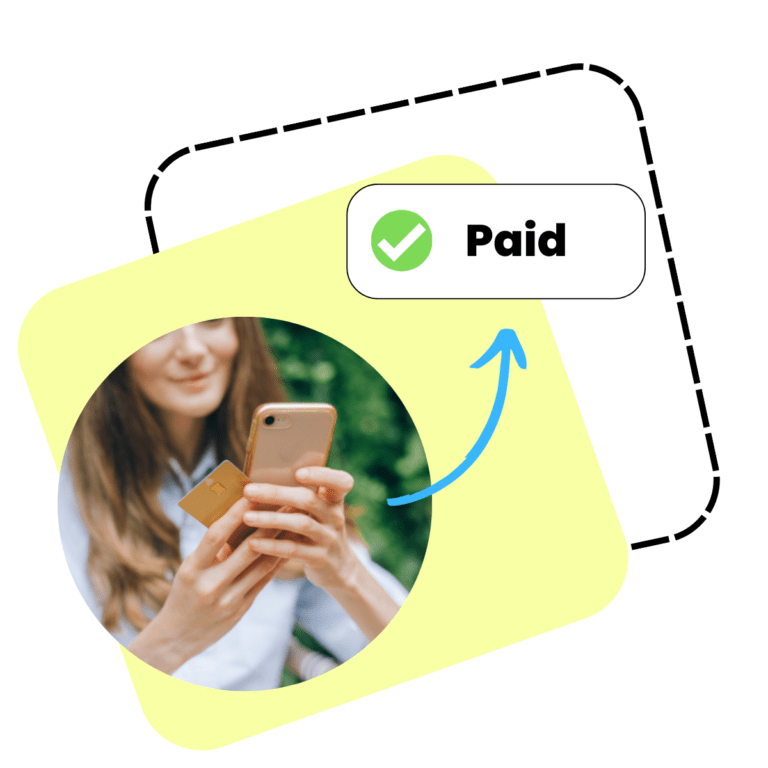
Take full payments or deposits
Enabling full payments or deposits during booking ensures commitment and minimizes no-shows. It secures revenue upfront, reducing financial risks. Flexible payment options, such as partial deposits or full pre-payments, optimize cash flow and guarantee reservations. With BookOn, you can integrate the world’s most popular payment systems such as PayPal, Stripe, Mollie and Square into your appointment booking system for free.
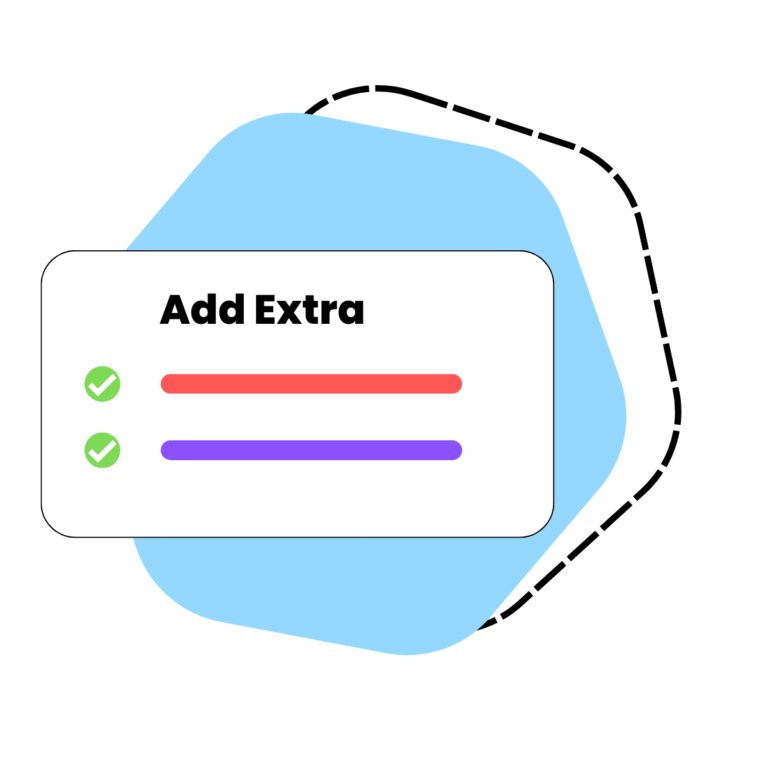
Add "extras"
Additional upsells will enhance revenue streams by offering premium services, add-ons, or upgrades during the booking process. These can include products, exclusive amenities, or bundled packages, enticing customers to opt for higher-value offerings and boosting overall sales while improving the customer experience.
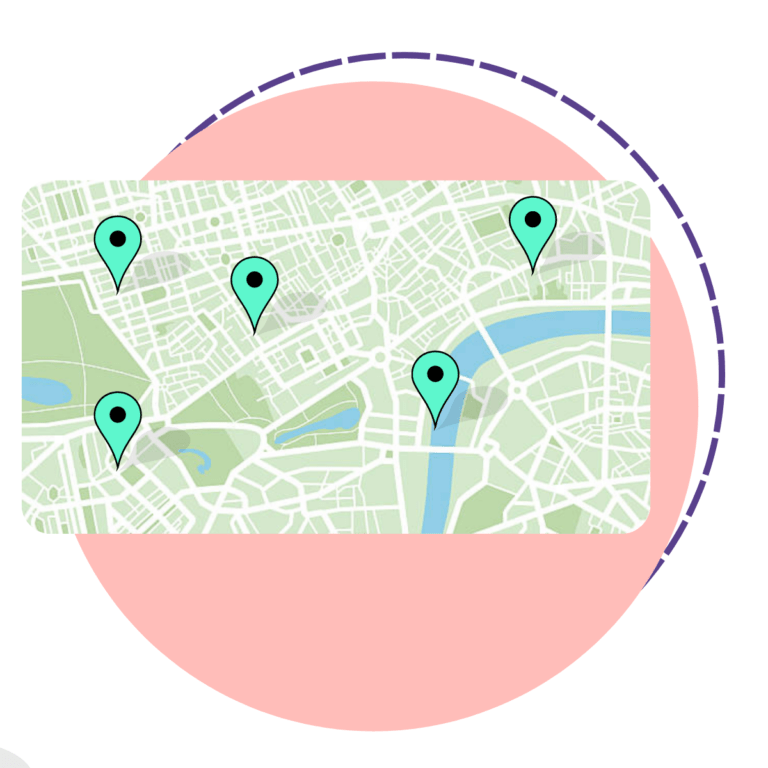
Multi location management
The multi-location management feature in this free scheduling software streamlines bookings, resource allocation, and staff scheduling across diverse sites. It ensures real-time availability synchronization, customized settings for each location, and comprehensive reporting, offering a unified solution for efficient coordination and control across multiple branches or sites.
What People Are Saying
❤️
“BookOn scheduling has transformed the way I manage appointments for my business. Its intuitive interface makes scheduling a breeze, and the automated reminders have significantly reduced no-shows. I highly recommend BookOn appointment scheduling to any business looking for an efficient scheduling solution.”
– Mark S. Gym Owner
⭐⭐⭐⭐⭐
“BookOn scheduling has truly simplified my life as a busy professional. With its user-friendly interface and seamless integration of personal and business calendars, I can effortlessly manage my appointments with ease. I highly recommend BookOn to anyone looking for a reliable and efficient scheduling solution.”
– Sarah L. Consultant
⭐⭐⭐⭐⭐
“BookOn has scheduling been a game-changer for my small business. BookOn exceeded my expectations with its easy-to-use interface and robust features. From sending automated reminders to managing both personal, it has saved me countless hours of administrative work. I can’t imagine running my business without it!”
– Alex R. Business Coach
⭐⭐⭐⭐⭐
Frequently Asked Questions
Is this scheduling app really free?
You bet. BookOn is absolutely free.
What is a scheduling software?
BookOn scheduling software is a booking tool used to manage appointments, tasks, resources, events or personnel within an organization. It streamlines administrative tasks, improves communication, and enhances efficiency by automating scheduling processes, providing real-time updates, and optimizing resource utilization.
Do you offer set-up support & help if I'm stuck during setup?
Yes, we provide full help & support 24/7.
What are the benefits of this free scheduling app?
The benefits of a scheduling app software include improved efficiency, enhanced organization, increased productivity, better communication, convenience for users, data insights, and customization options.
How do I get started with a BookOn scheduling software?
Simply sign up, confirm your email address and after a quick set up, you can start to take bookings.
How BookOn booking system help me increase my bookings?
This booking tool, can help increase bookings by offering online booking convenience, 24/7 accessibility, automated reminders, calendar optimization, and improved visibility for your business.
Try BookOn Appointment Scheduling Software today.
Revolutionize your scheduling process with our cutting-edge appointment scheduling software booking system app. Say goodbye to manual booking hassles and hello to seamless online appointments. Try BookOn free scheduling app today!
No credit card required
Not sure if your business is suitable?
Check out some of the businesses currently using BookOn for their scheduling solutions.